Two walls and a pause
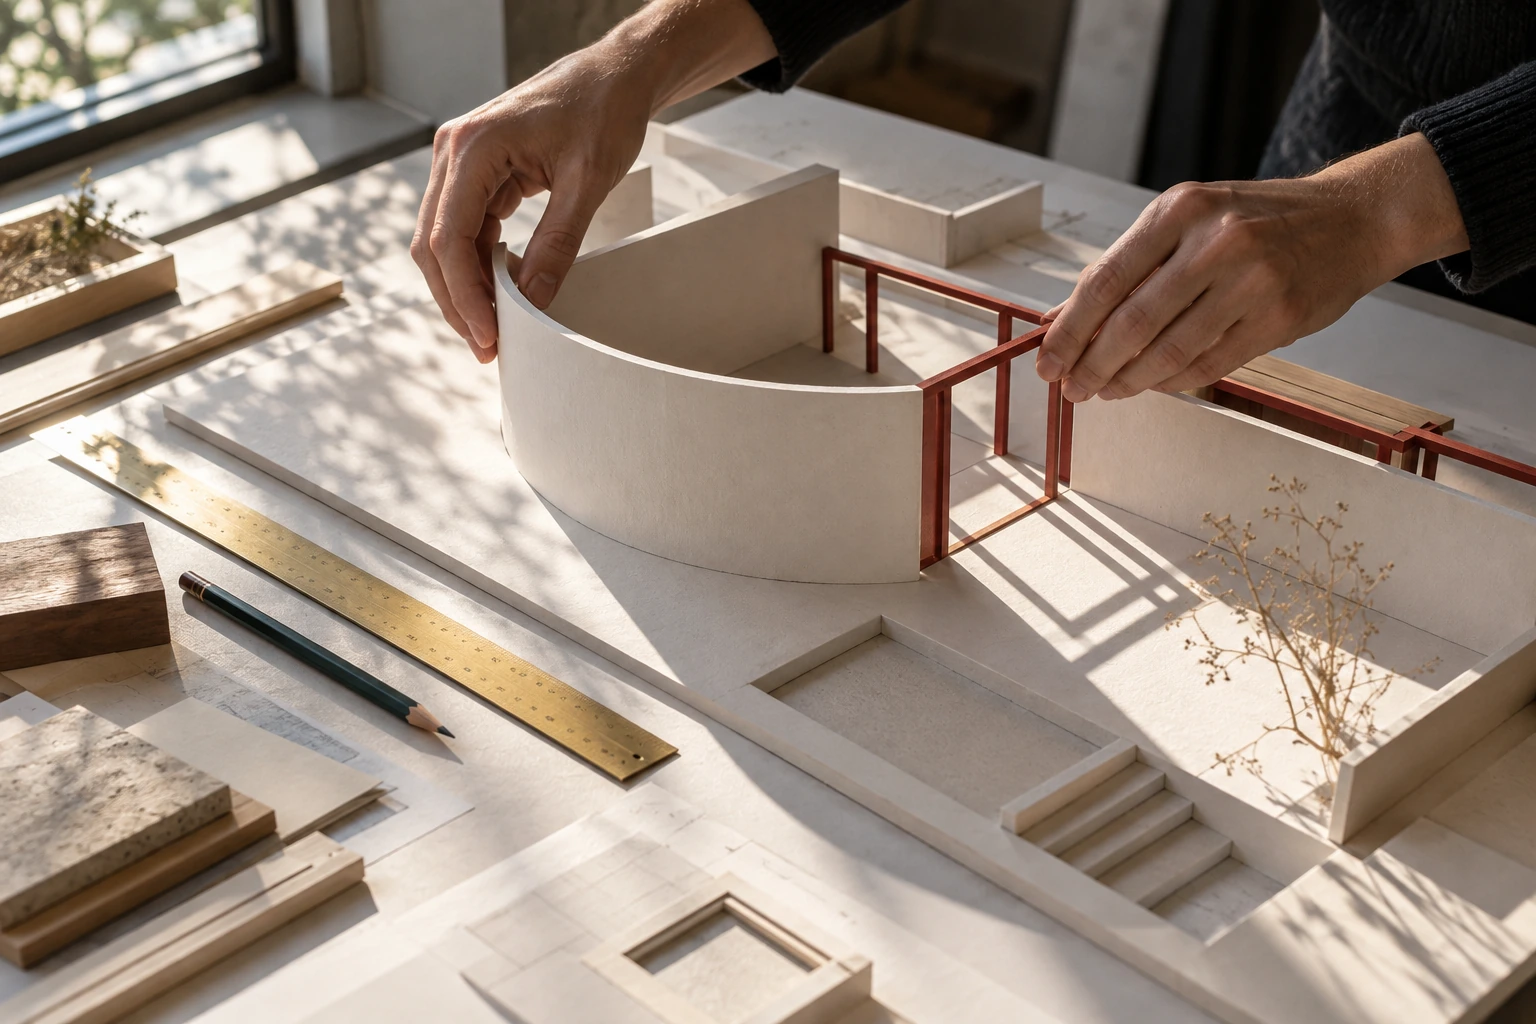
Arrange two freestanding card walls on a base. Make a place that invites a pause without enclosing it completely.
Think with your hands.
Make a space you can question. A fieldguide to scale, movement, light and the physical models that help you see them.
Enter the model room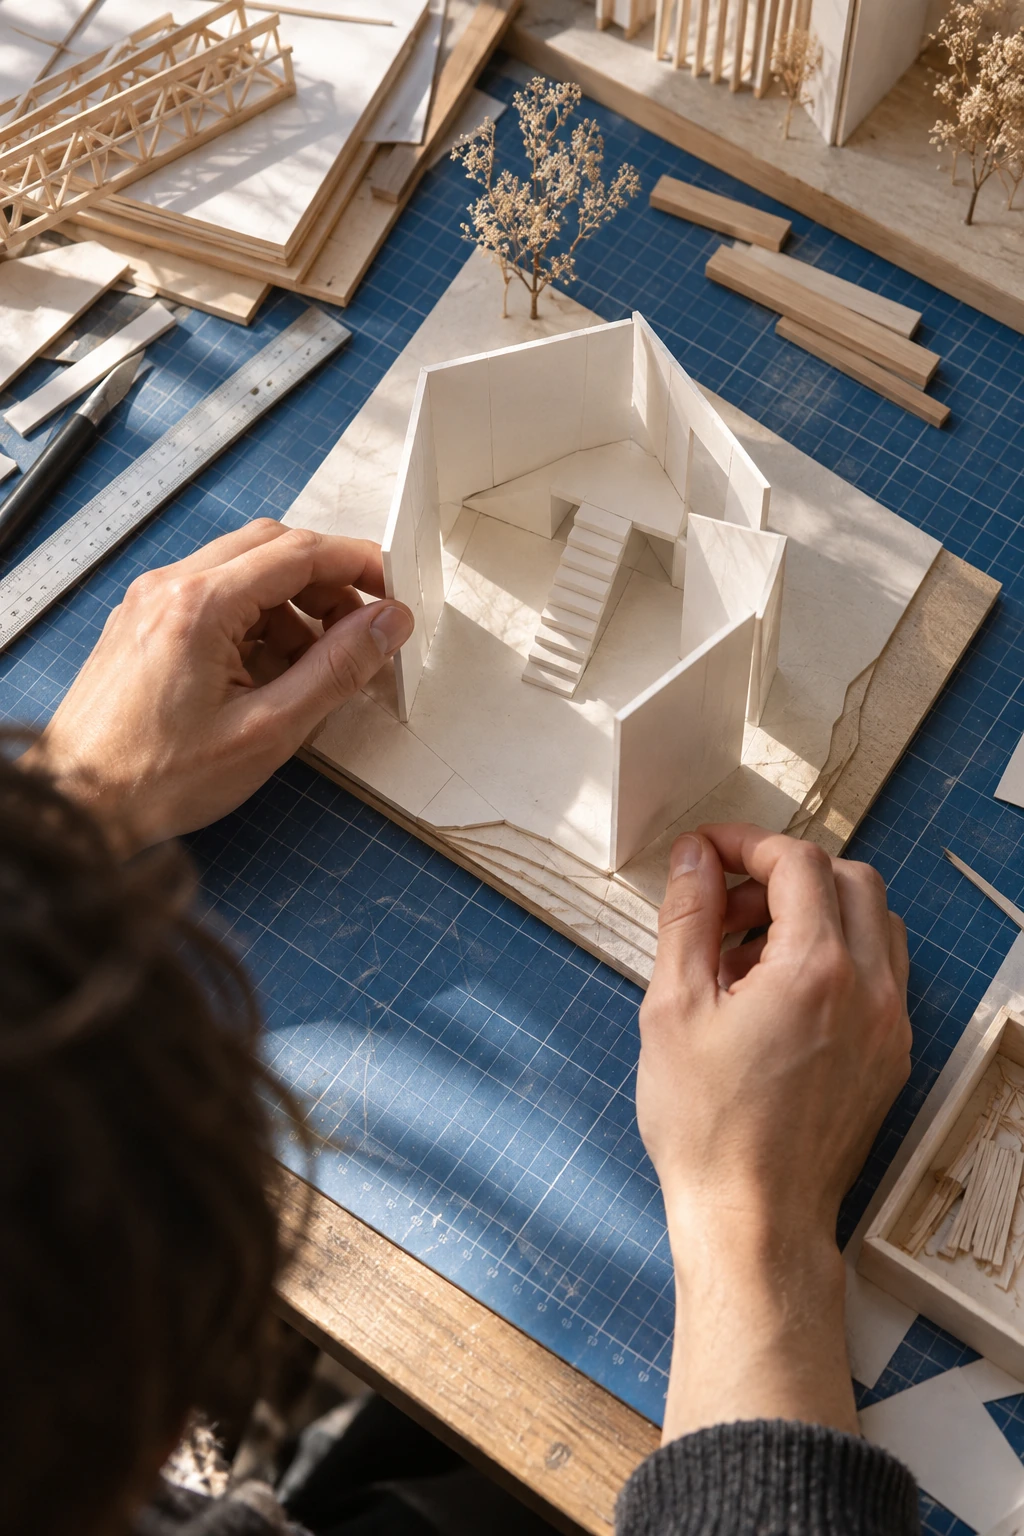
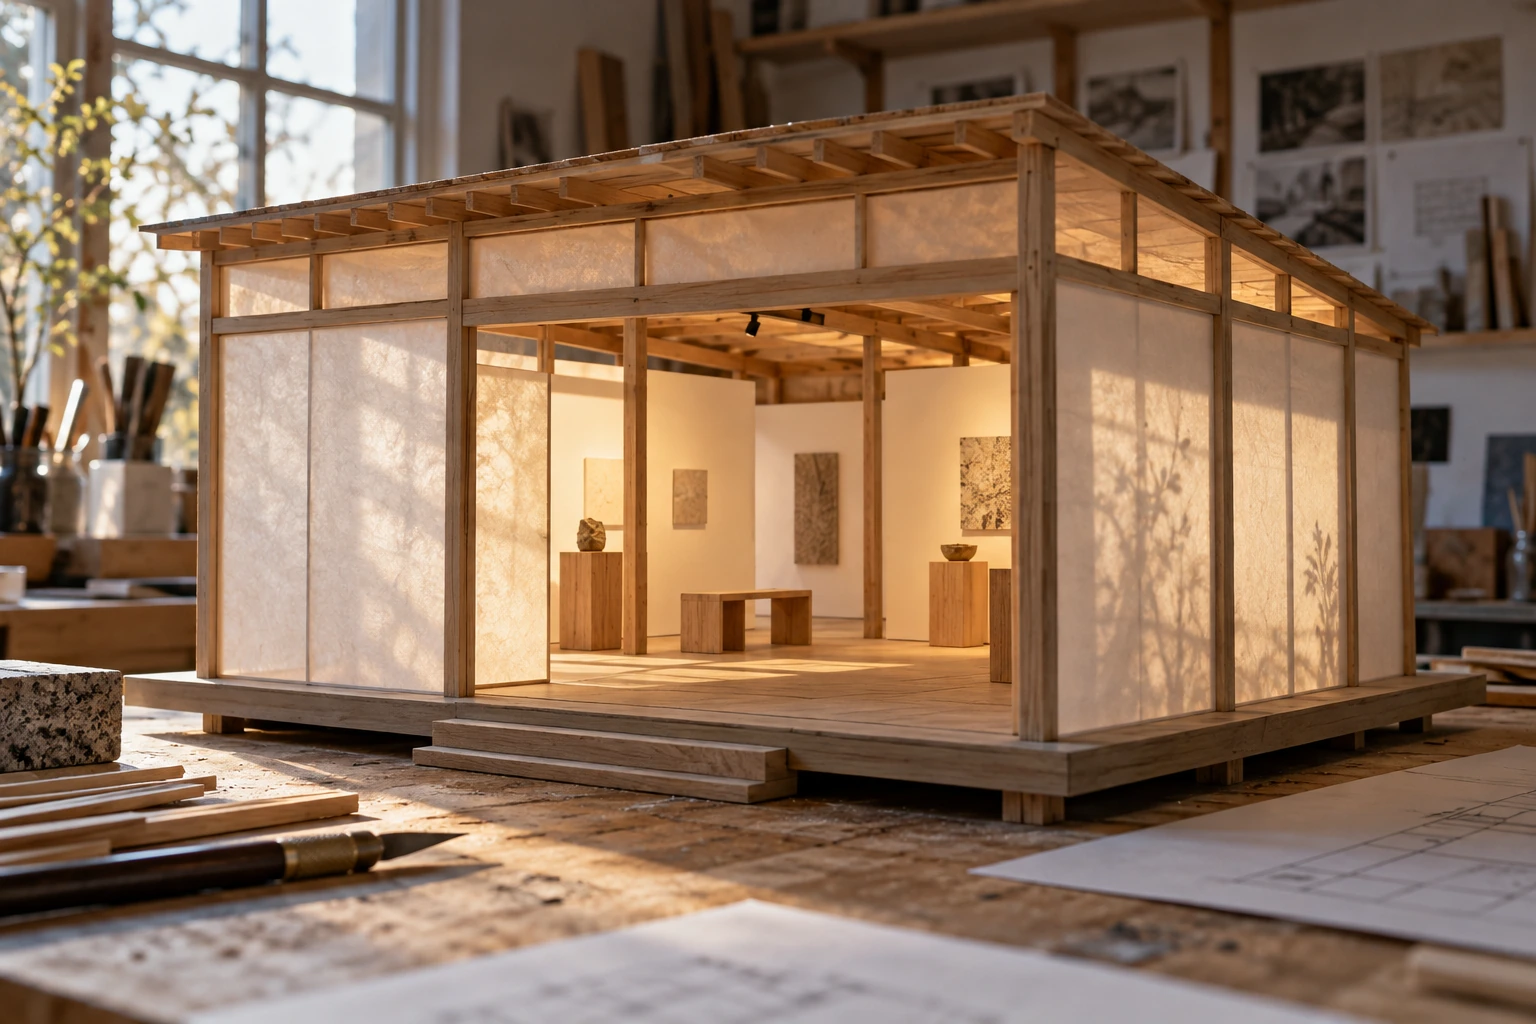
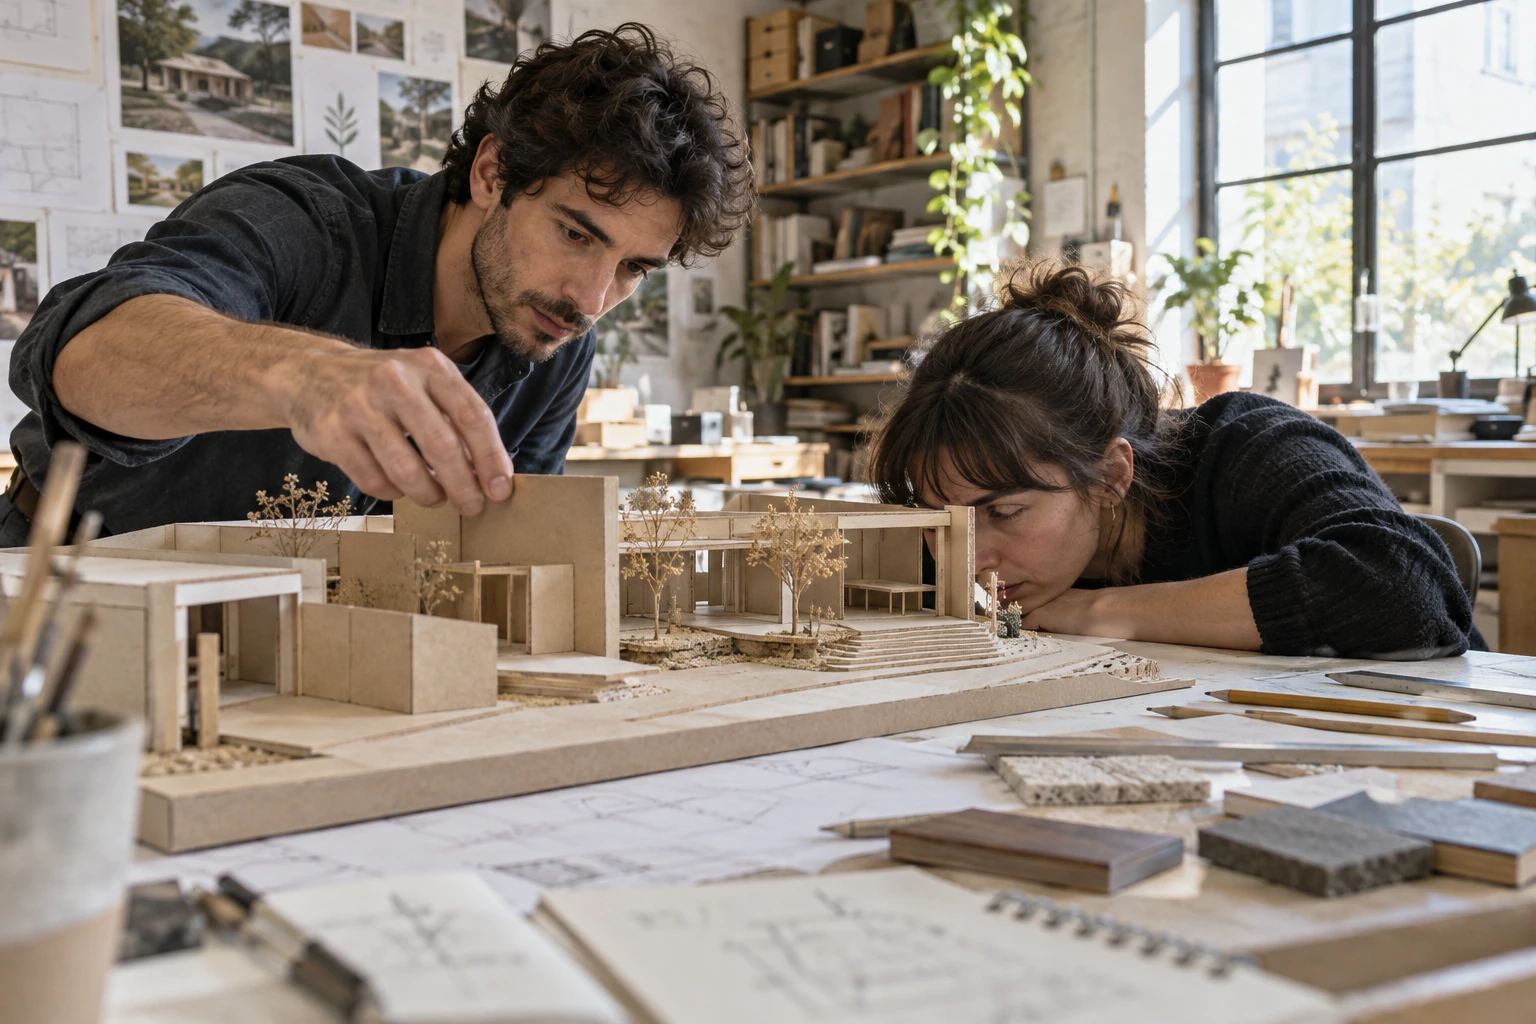
Study the moment of entering. Use two walls and an opening to test what is visible before, during and after the crossing. Keep decoration out of the first version.
Build a route with three distinct moments: approach, pause and arrival. Move one element and compare whether the path becomes clearer or more surprising.
Change the height or position of a single boundary. Look at how much of the space is revealed, and what remains connected across the edge.
A bird’s-eye view explains the arrangement. A low viewpoint begins to reveal the experience.
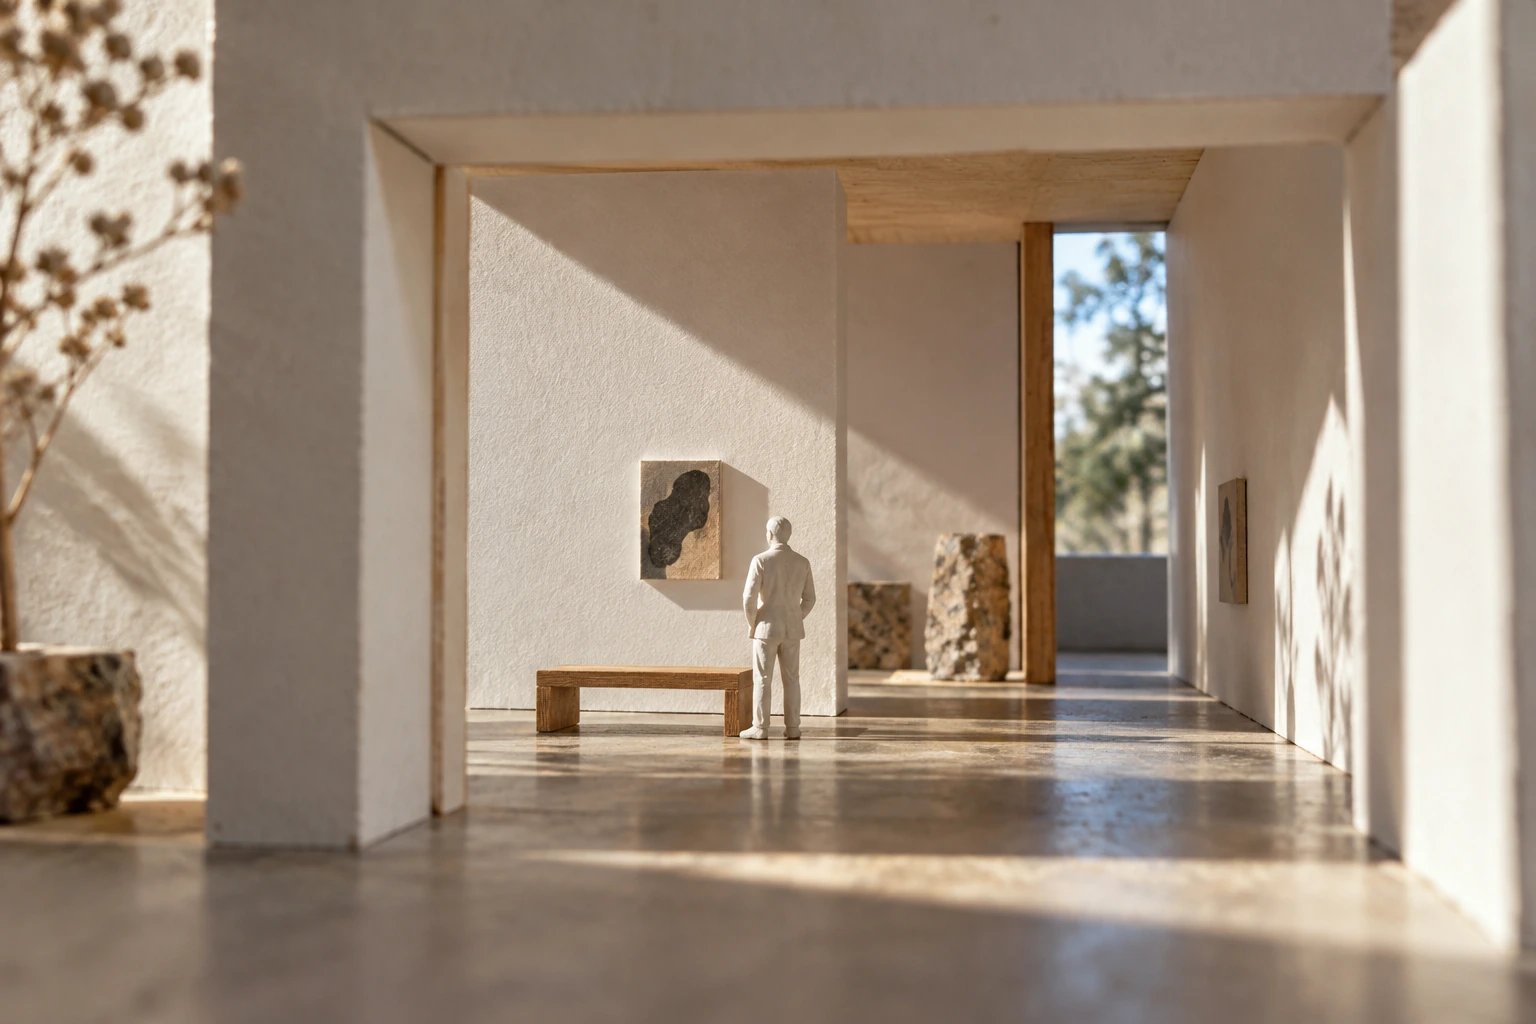
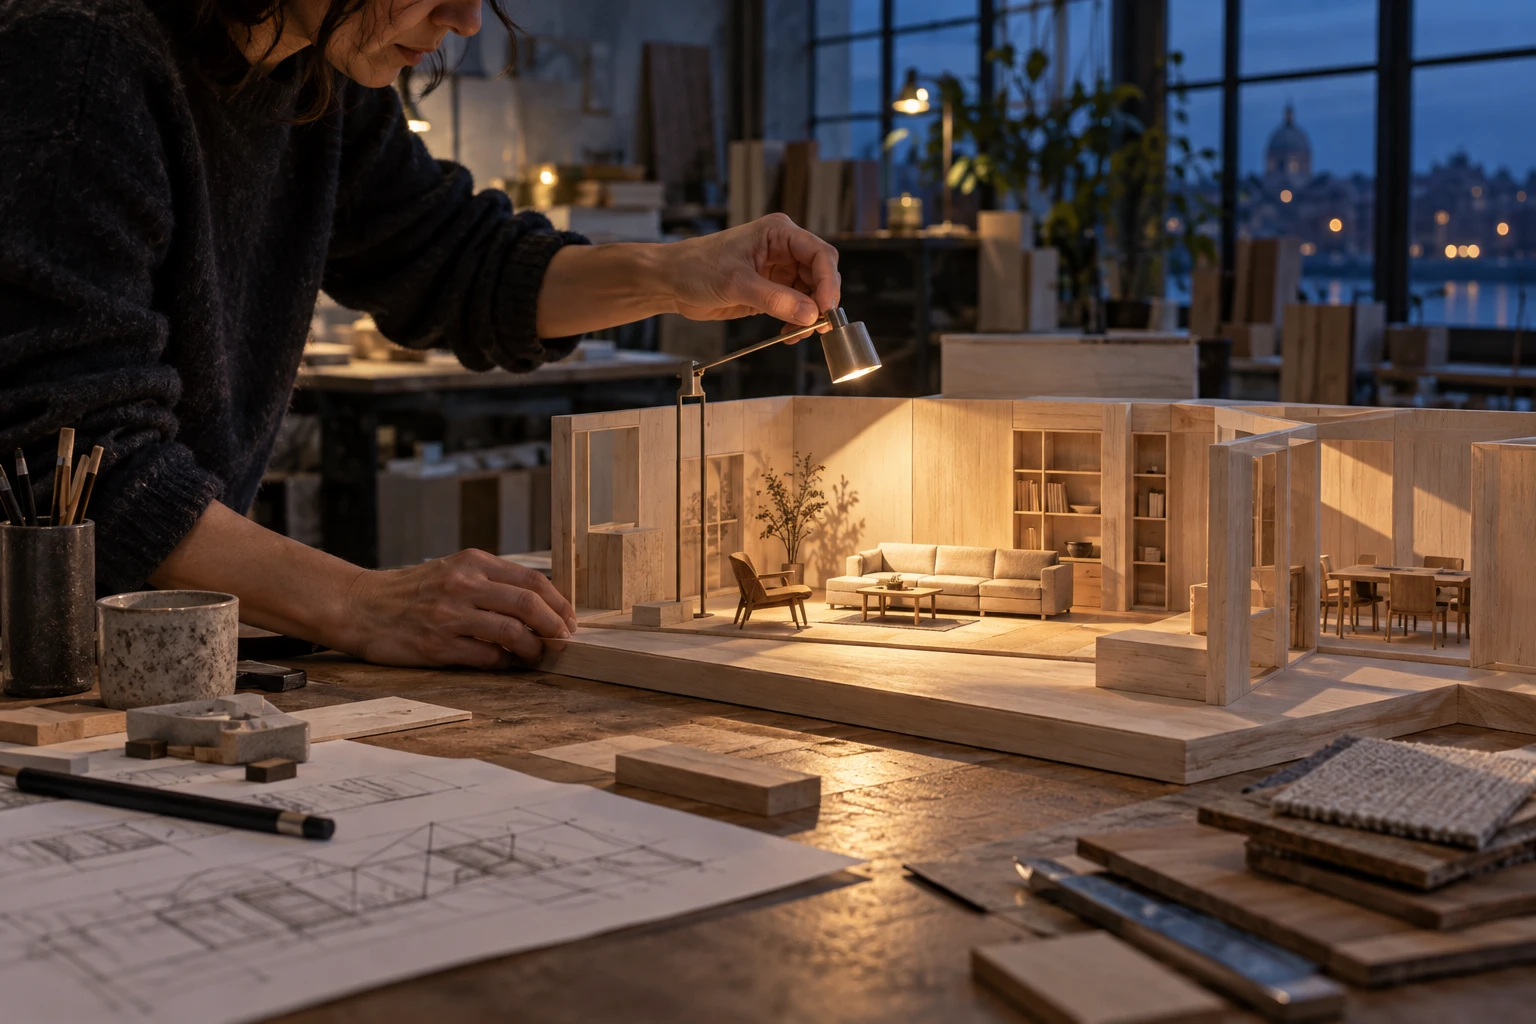
Use a consistent eye height. A simple scale figure can help you compare versions.
Move the camera, then the model. Keep the two changes separate so you know what caused the difference.
02 / Scale workbench
Translate a real dimension into a model measurement. The right scale is the one that lets you test the relationship you care about.
6 m at 1:50 becomes 120 mm in your model.
Formula: metres × 1000 ÷ scale denominator. This is a design study aid, not construction documentation.
03 / Build for revision
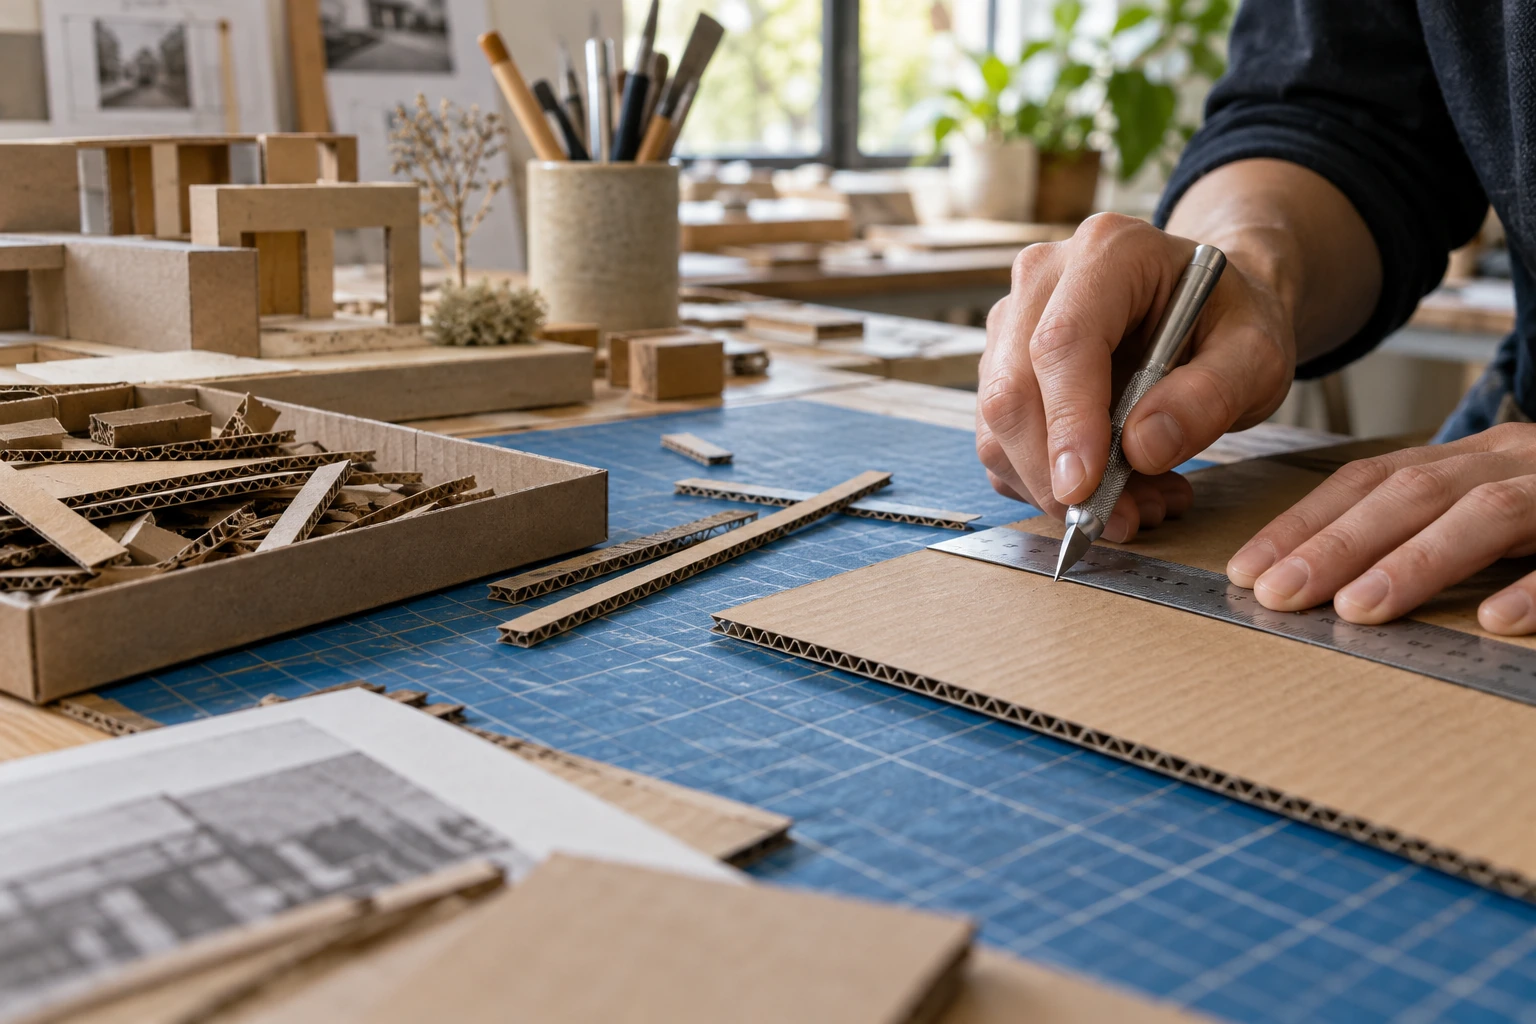
Leave walls movable and connections visible while the question is still open. A model that is too precious to change can stop helping you think.
Keep a stable reference plane.
Use removable tabs or a light temporary fixing.
Add only what changes the test.
Use a cutting mat, a suitable ruler and safe cutting technique. Match tools to the material and your experience.
04 / The working loop
Write one question about the space. Make the expected effect clear enough to challenge.
Choose a scale and material that expose that relationship without unnecessary detail.
Compare plan, eye-level and light studies. Record what the model actually shows.
Move one thing. Keep a photograph of the previous state so the comparison survives.
White card clarifies mass. Translucent paper reveals light. A rough working model can make the next decision easier to see.
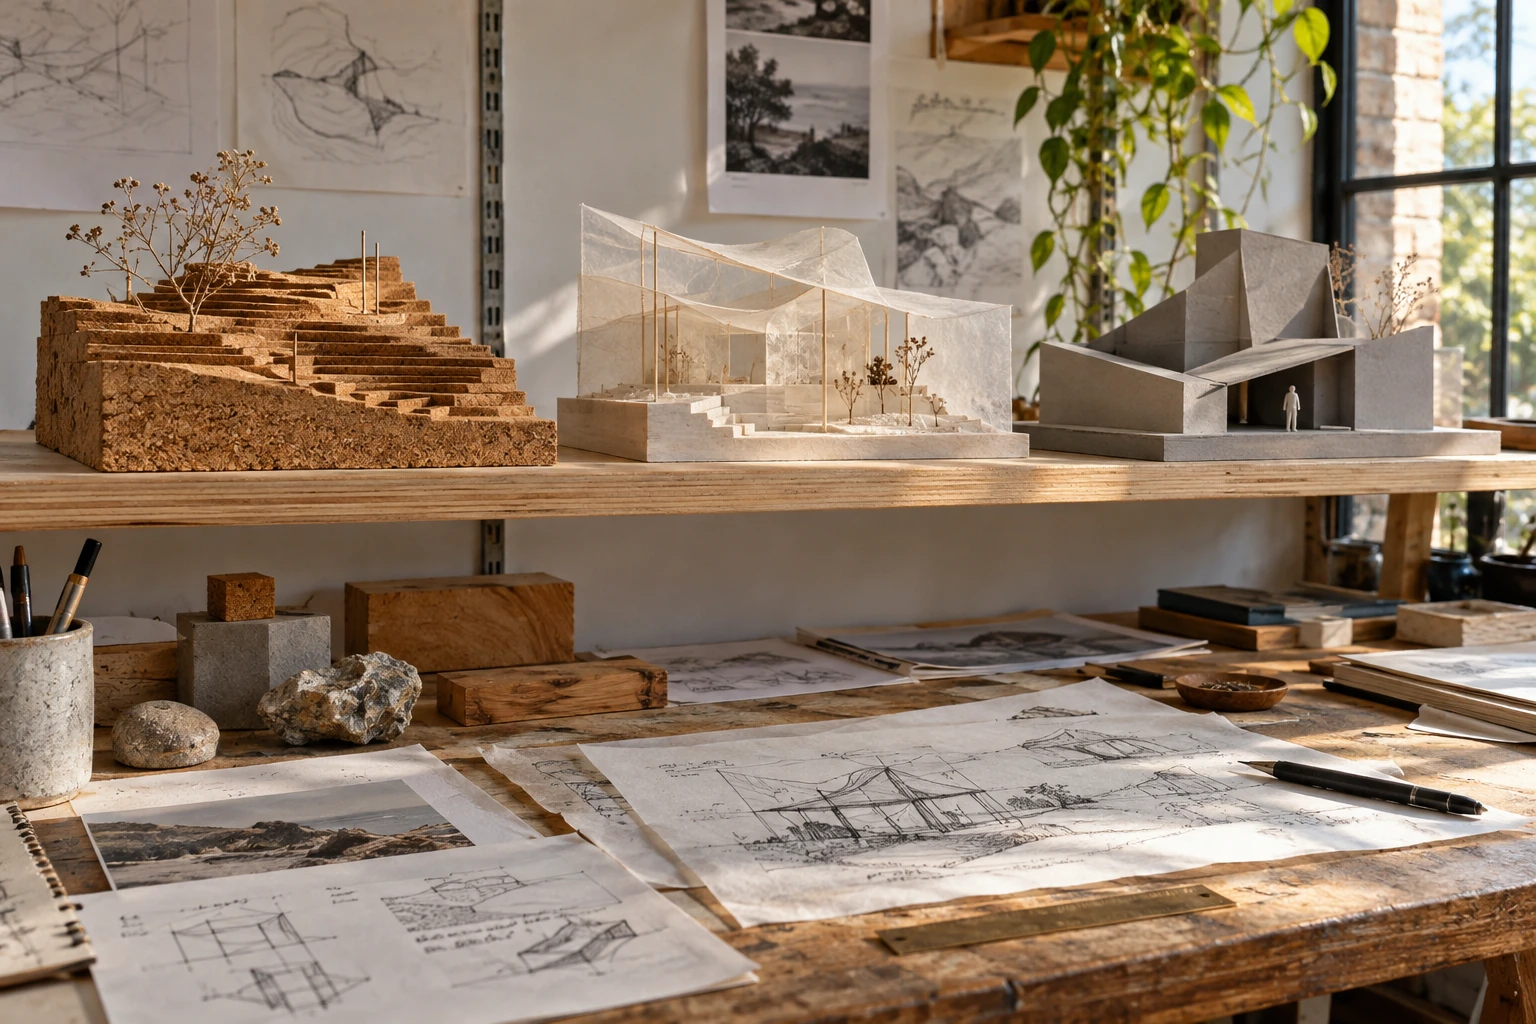
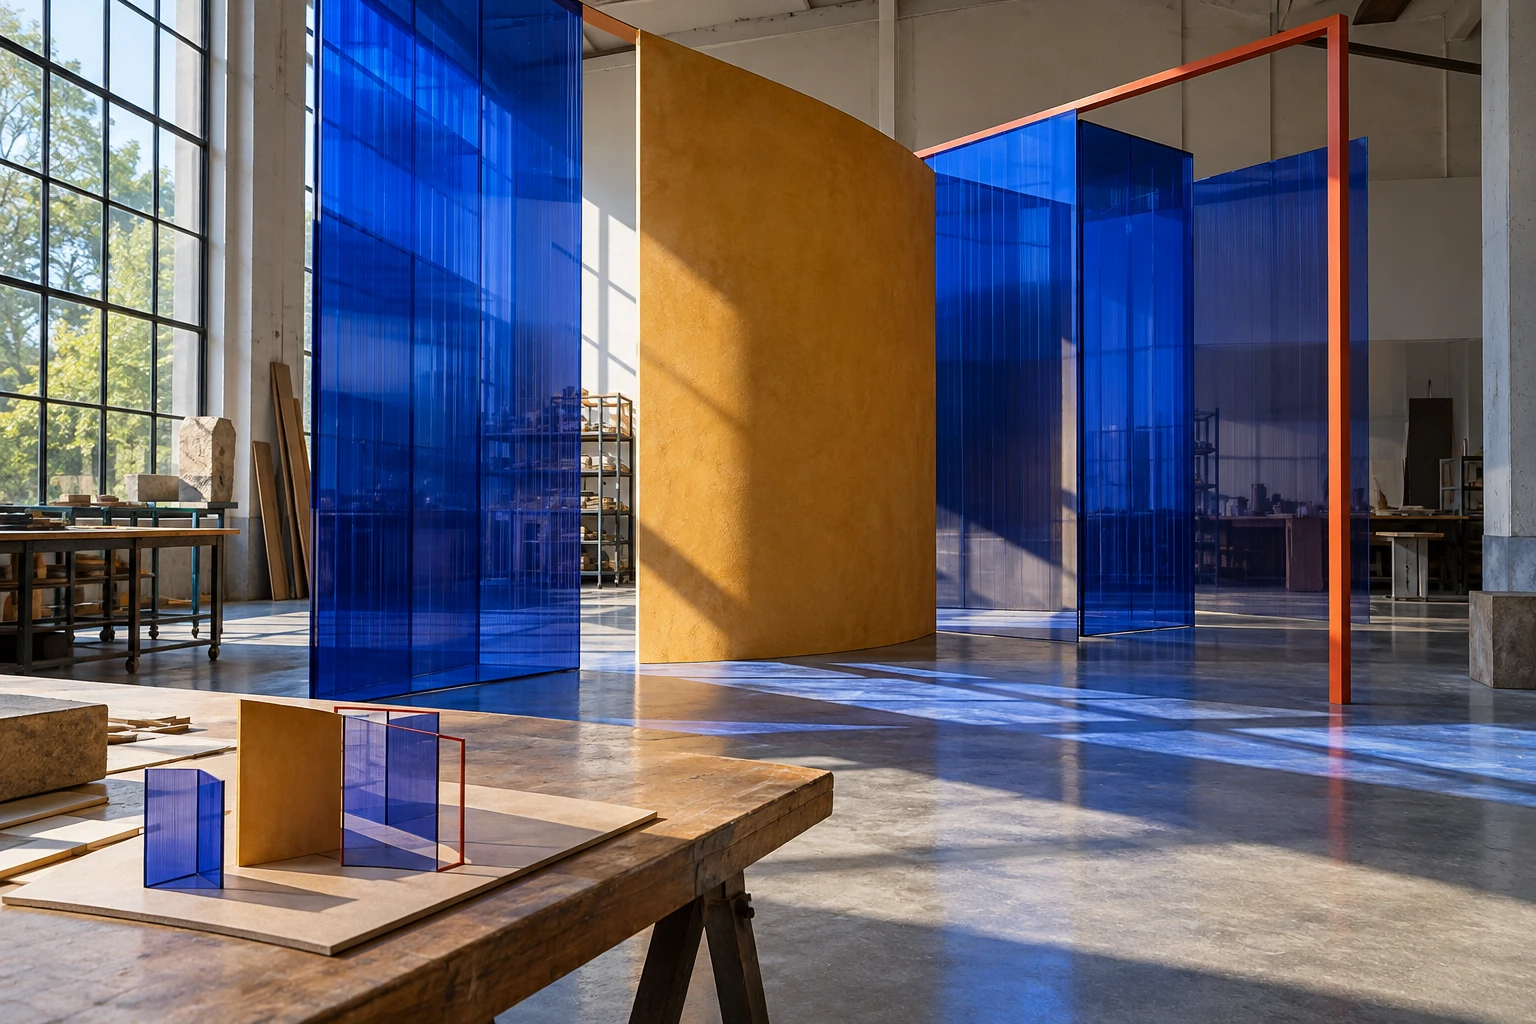
Question → scale → material → observation → next change.
A photograph without the question is only half a record.
06 / Trace a route
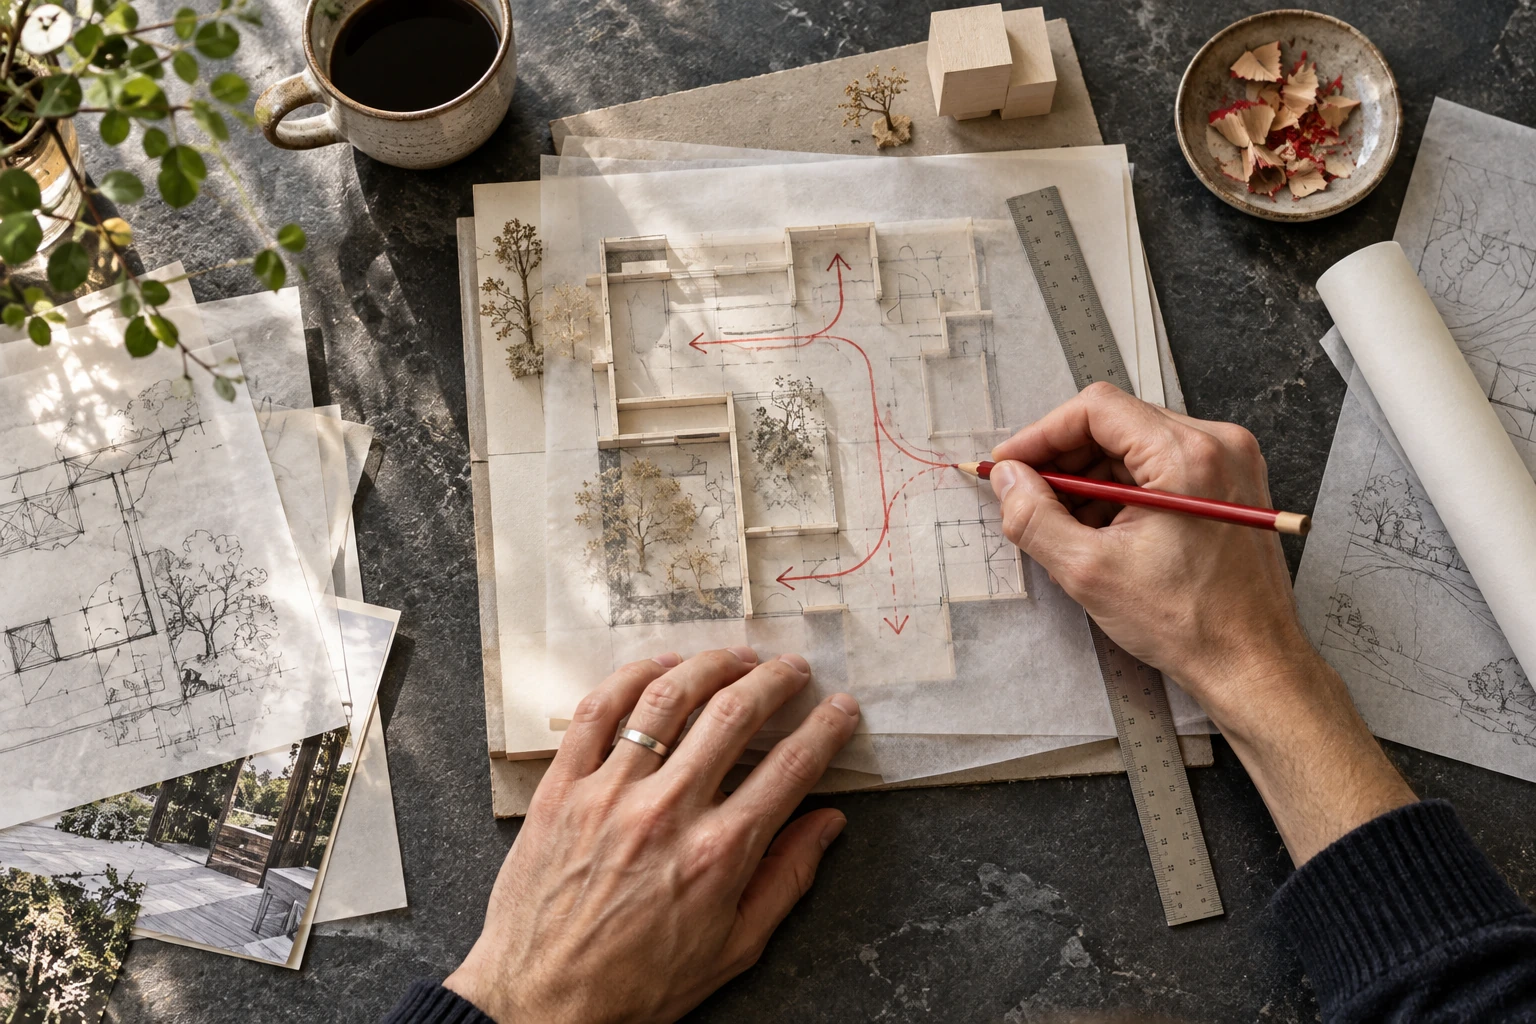
Draw a route through the model on a sheet of tracing paper. Mark moments of choice, compression and release. Then check them from eye level.
A conceptual circulation study does not replace access, safety or building requirements for a real project.
07 / Study briefs
Arrange two freestanding card walls on a base. Make a place that invites a pause without enclosing it completely.
Cut a single opening in a simple enclosure. Move a lamp and compare how the opening changes the room’s emphasis.
Create an approach that reveals a focal point in stages. Use only three planes and check it from the model’s eye level.
Replace one opaque wall with tracing paper. Compare connection, privacy and the spread of light in the study.
4 entries shown.
08 / Model review
Check the evidence in your model before marking an item. No review state is retained after reload.
09 / At the model bench
Choose the smallest model that still reveals the relationship you want to test. A room study and a connection detail often need different scales.
No. A study model should make its question clear and remain easy to change. Finish becomes useful when it helps communicate a resolved idea.
Yes. Check thickness and stiffness, keep the scale consistent, and avoid materials whose handling risks you do not understand.
It performs a simple scale conversion for design studies. It is not construction documentation and does not verify structural, access or safety requirements.
10 / Studio correspondence
Describe the spatial relationship you are exploring and the part of the fieldguide you are using.